Creating and Managing Jobs
Create a booking, add stops, review the route and price, allocate a driver and manage progress through to delivery.
New job → Route and price → Save job → Allocate driver → En route to collection → Loaded → Delivered → View POD
Open a new job
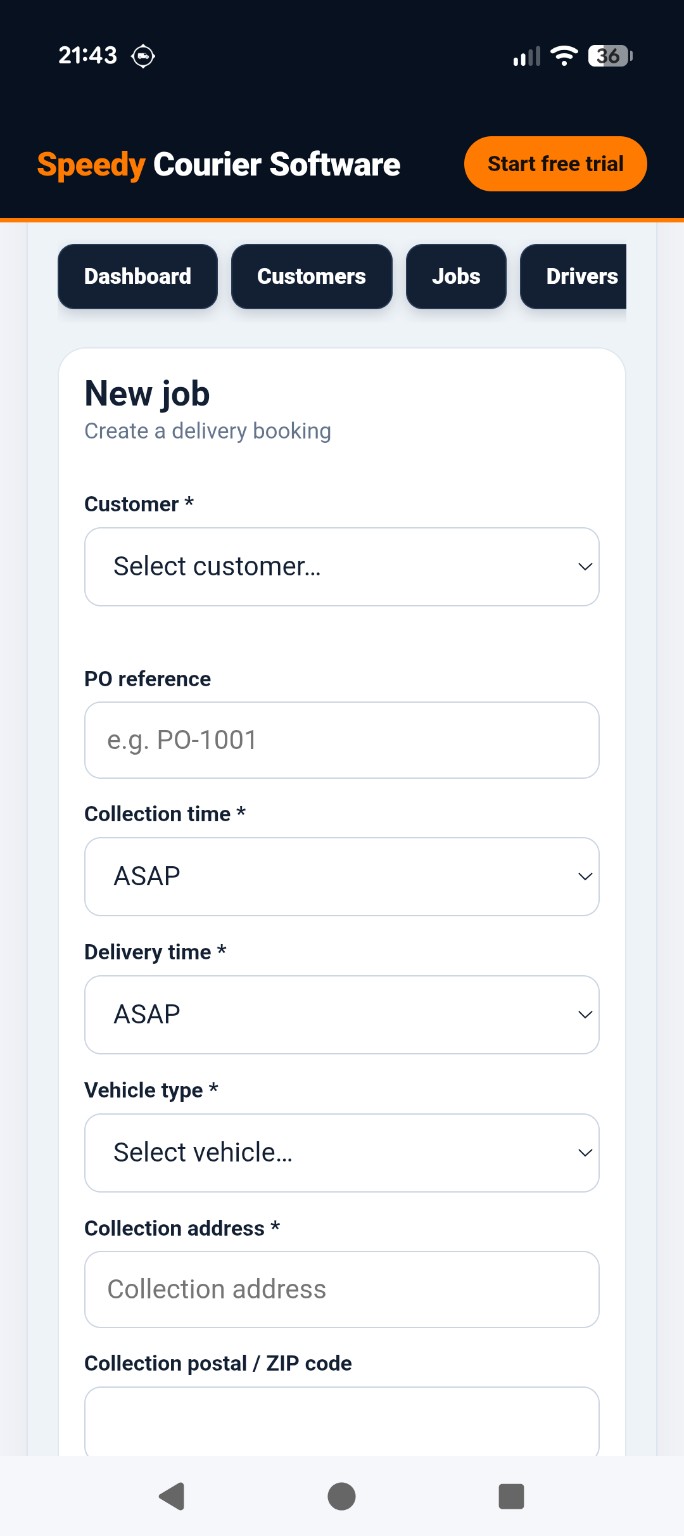
In the Office dashboard, open Jobs and select + New job. Choose the customer, enter a PO reference if needed, set collection and delivery times (ASAP or scheduled), and select the vehicle type. Enter the collection address and keep the postal / ZIP code visible for reference.
Enter delivery details and any extra stops
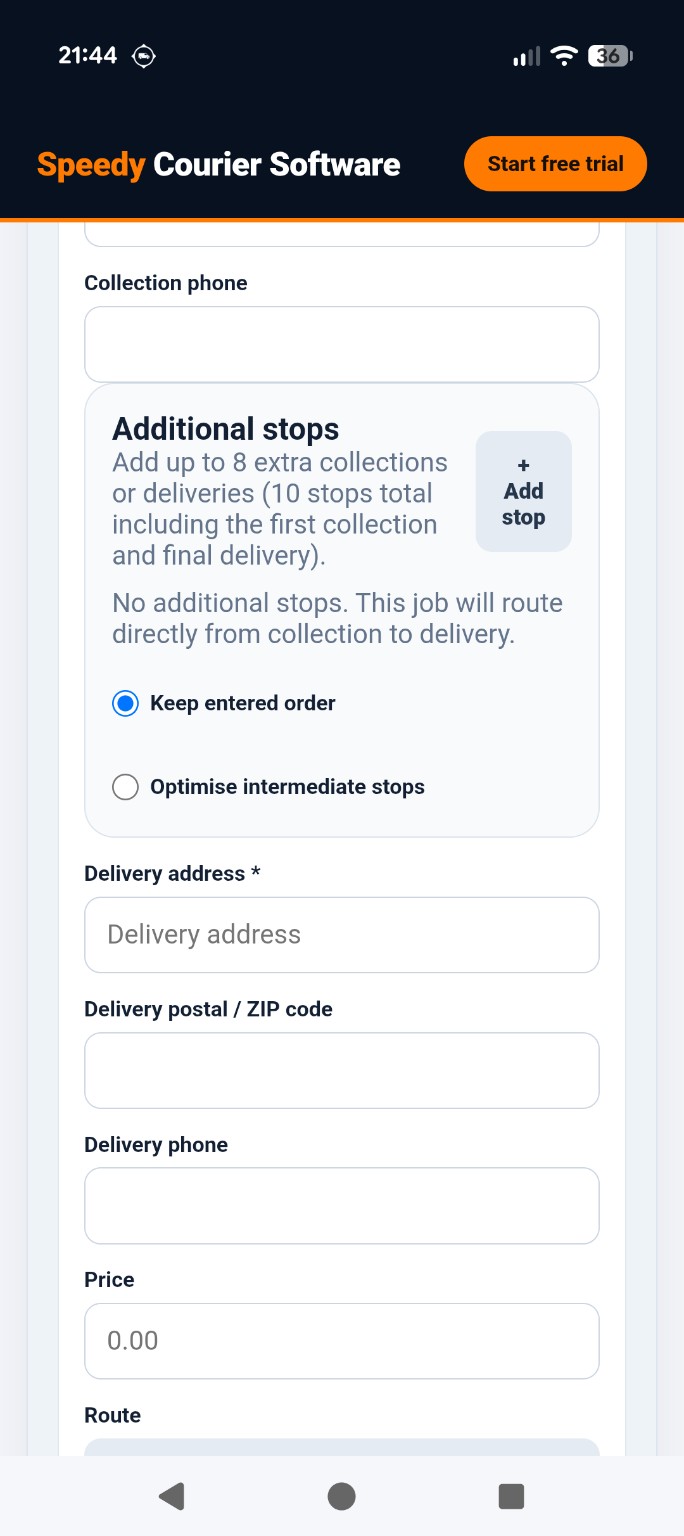
Enter the collection contact number where available. The Additional stops section allows up to eight extra collections or deliveries, for ten stops in total including the first collection and final delivery. Choose Keep entered order or Optimise intermediate stops as appropriate. Then enter the delivery address, postal / ZIP code and delivery contact number.
Calculate the route, price and save
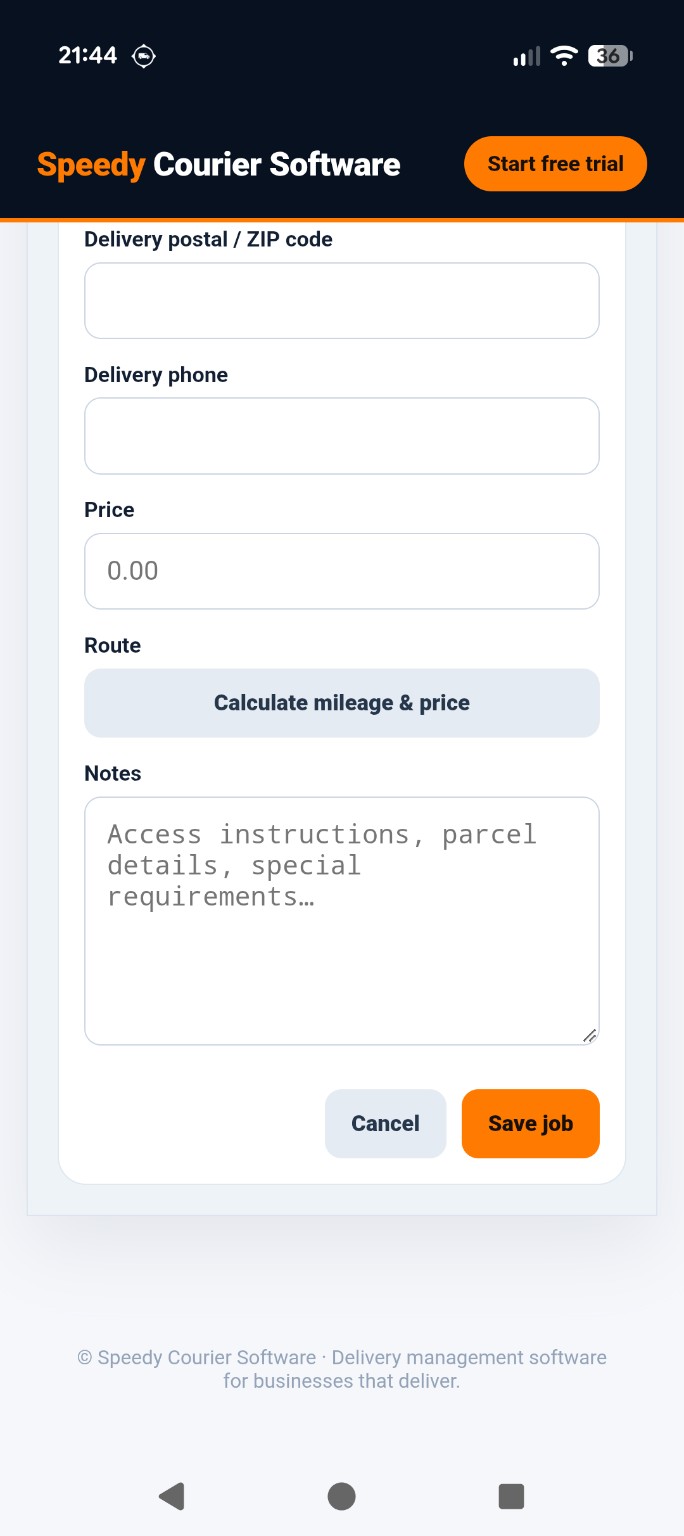
After entering the route, select Calculate mileage & price to calculate the route and price. Review the Price field, add any instructions in Notes, then select Save job. The screenshots show these controls, but do not demonstrate a completed price calculation.
Find the booked job
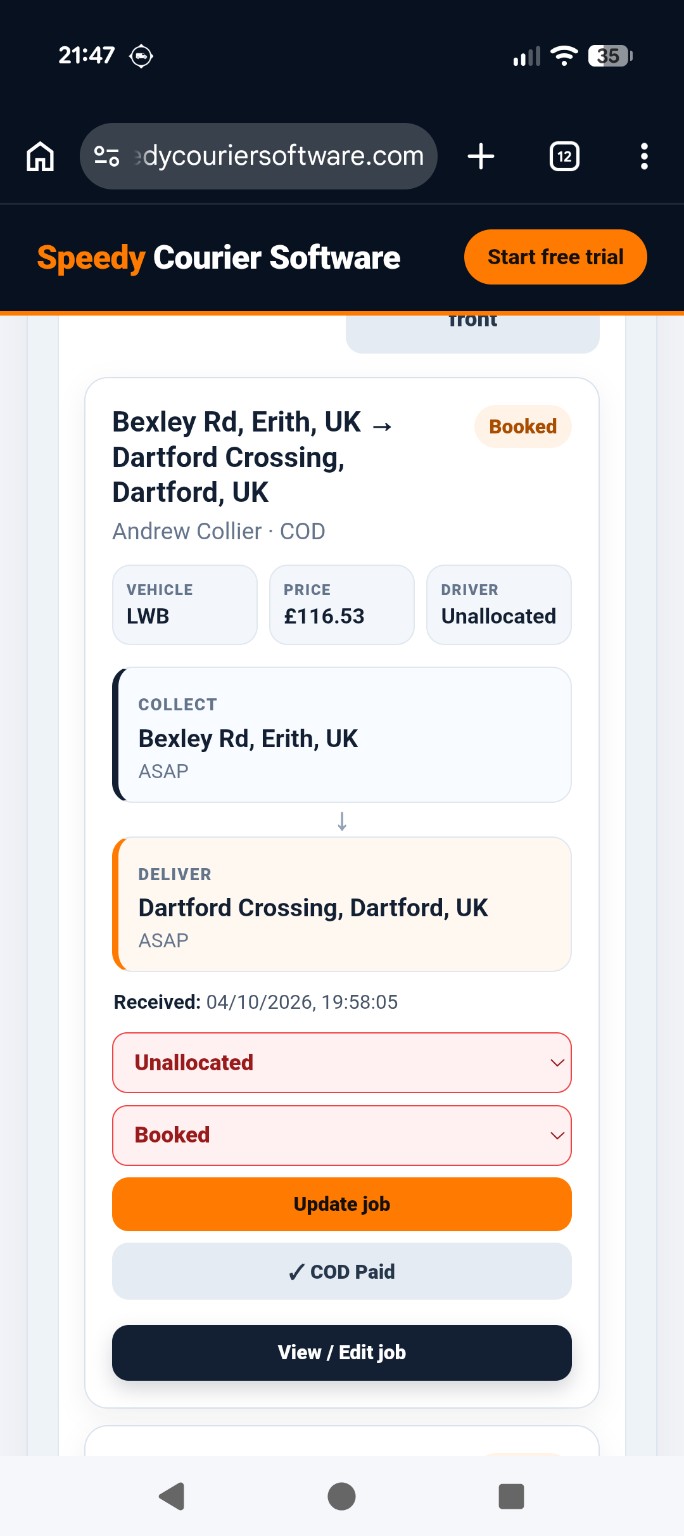
Return to Jobs. A newly booked job can appear with the status Booked and its driver as Unallocated. The job card shows the collection and delivery points, vehicle type, price, timing and customer.
Allocate the driver
Use the first dropdown on the job card to select an available driver. In this example, John smith · LWB · available is selected. Use the second dropdown to choose Allocated to driver, then tap Update job to save the changes.
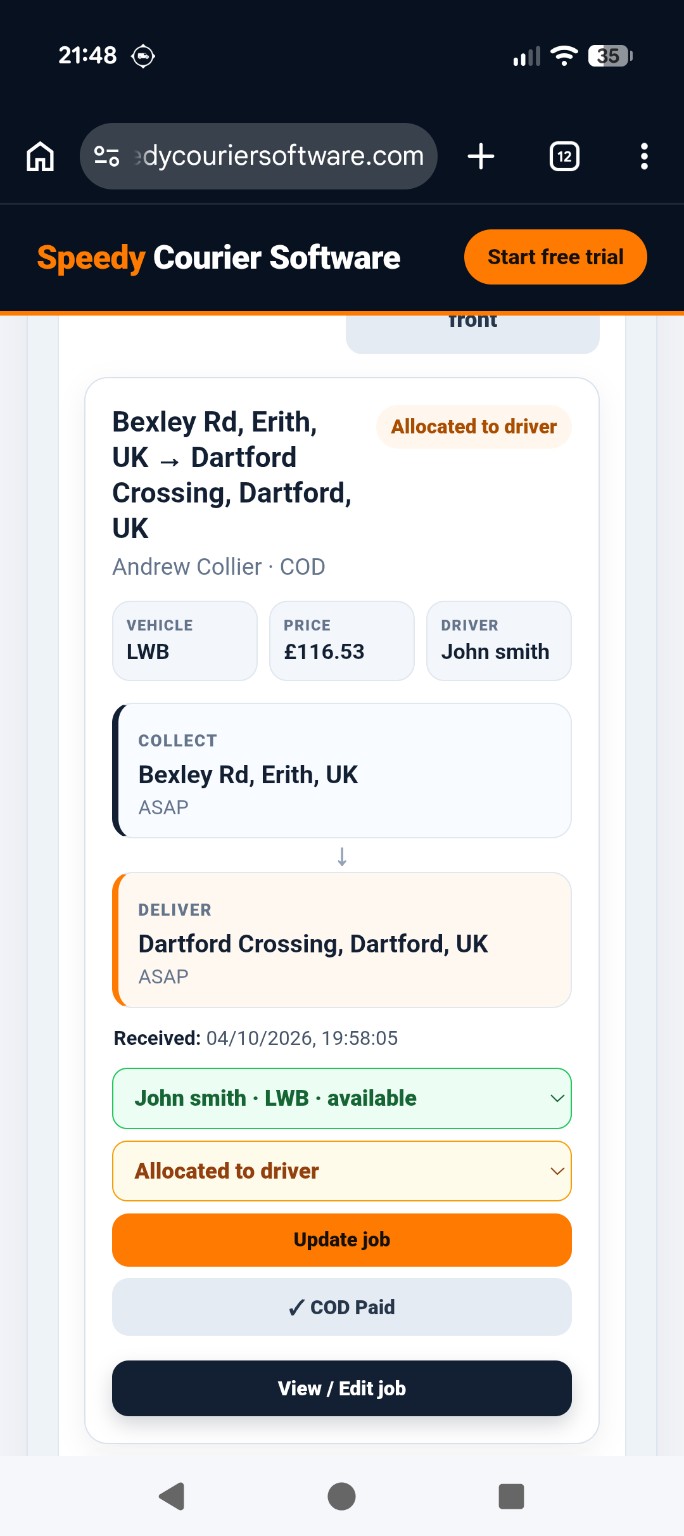
Understand the available statuses
The job status dropdown shows Booked, Allocated to driver, En route to collection, Loaded, Delivered and Cancelled. Select the appropriate status for the job’s actual progress and use Update job to apply it.
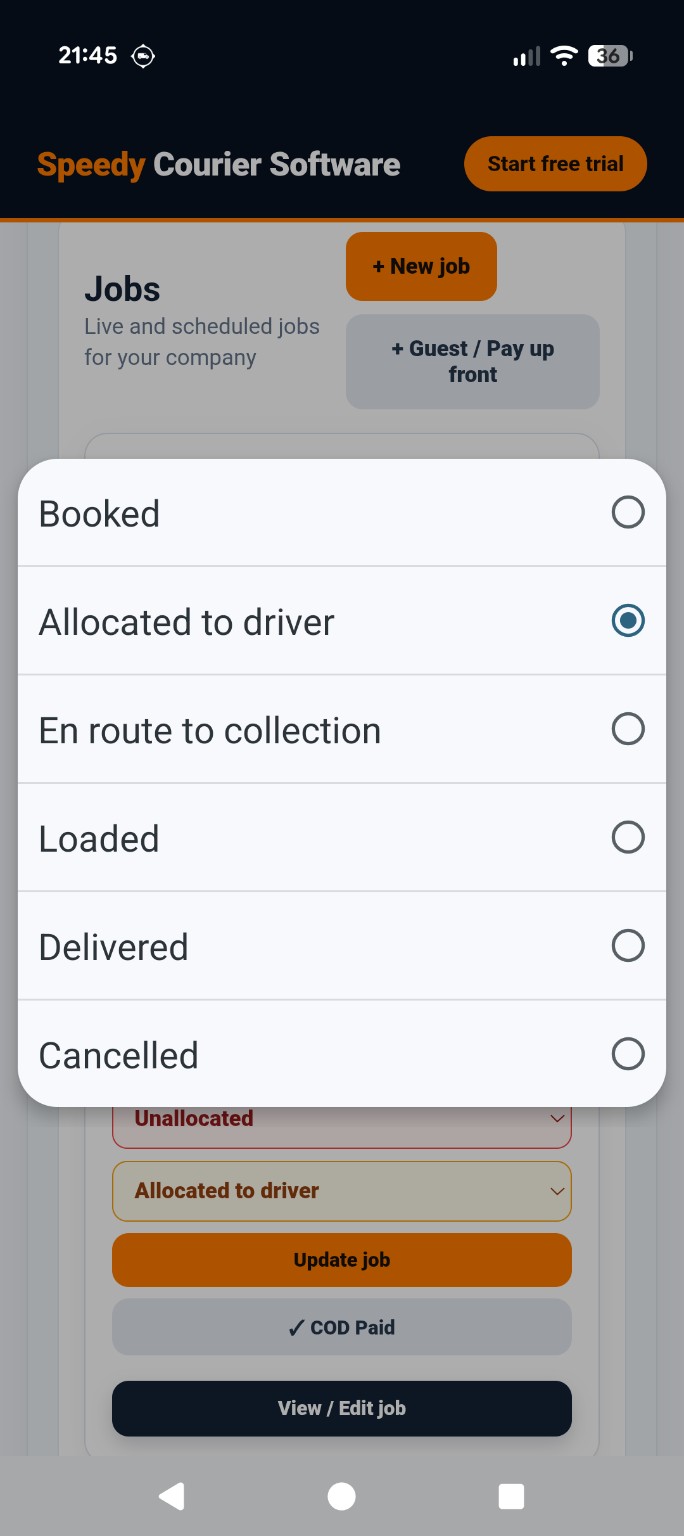
Mark the driver en route
Once the driver is heading to the collection, select En route to collection and tap Update job. The job card displays the new status while retaining the allocated driver.
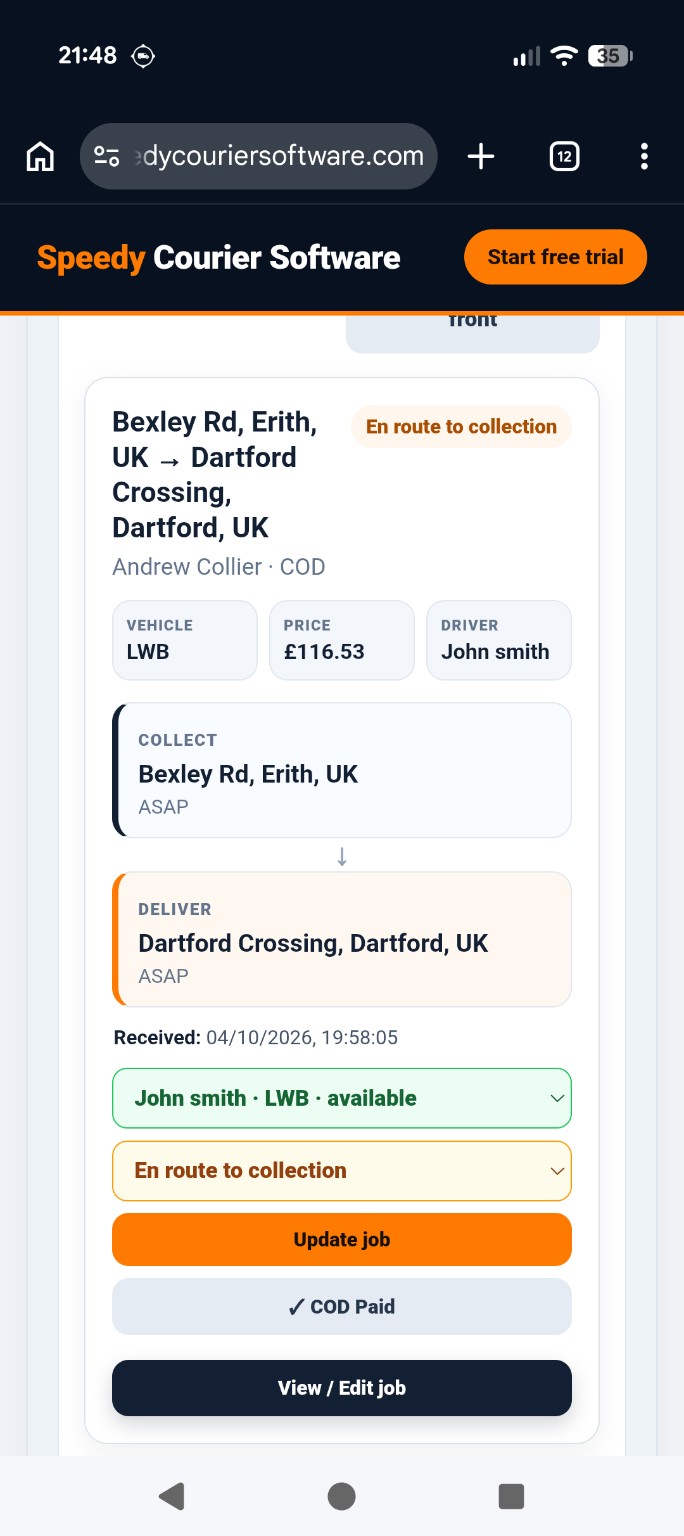
Mark the goods loaded
When the goods have been collected, change the status to Loaded and tap Update job. The job card displays Loaded.
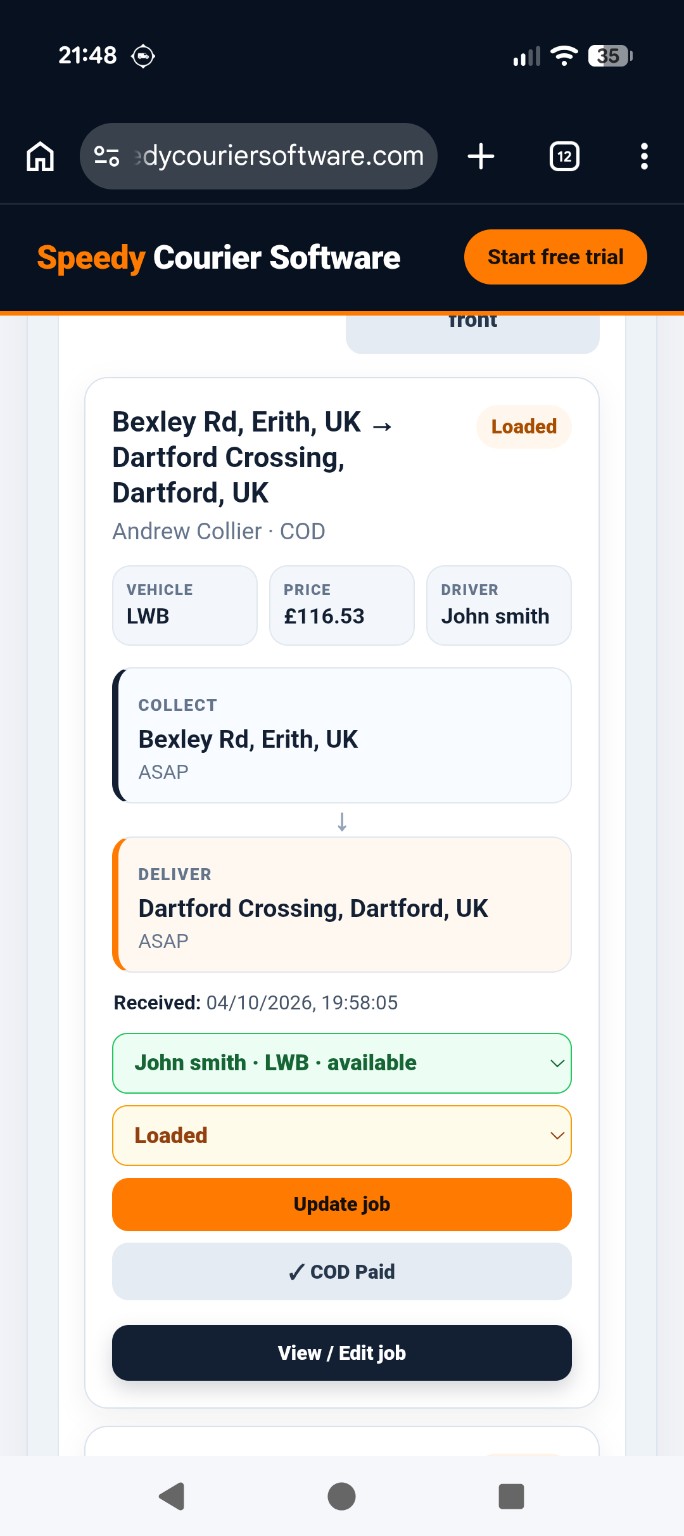
Complete the delivery
After delivery, select Delivered and tap Update job. The job card displays Delivered, and a View POD control appears in the screenshot. Use it to view the proof of delivery where available.
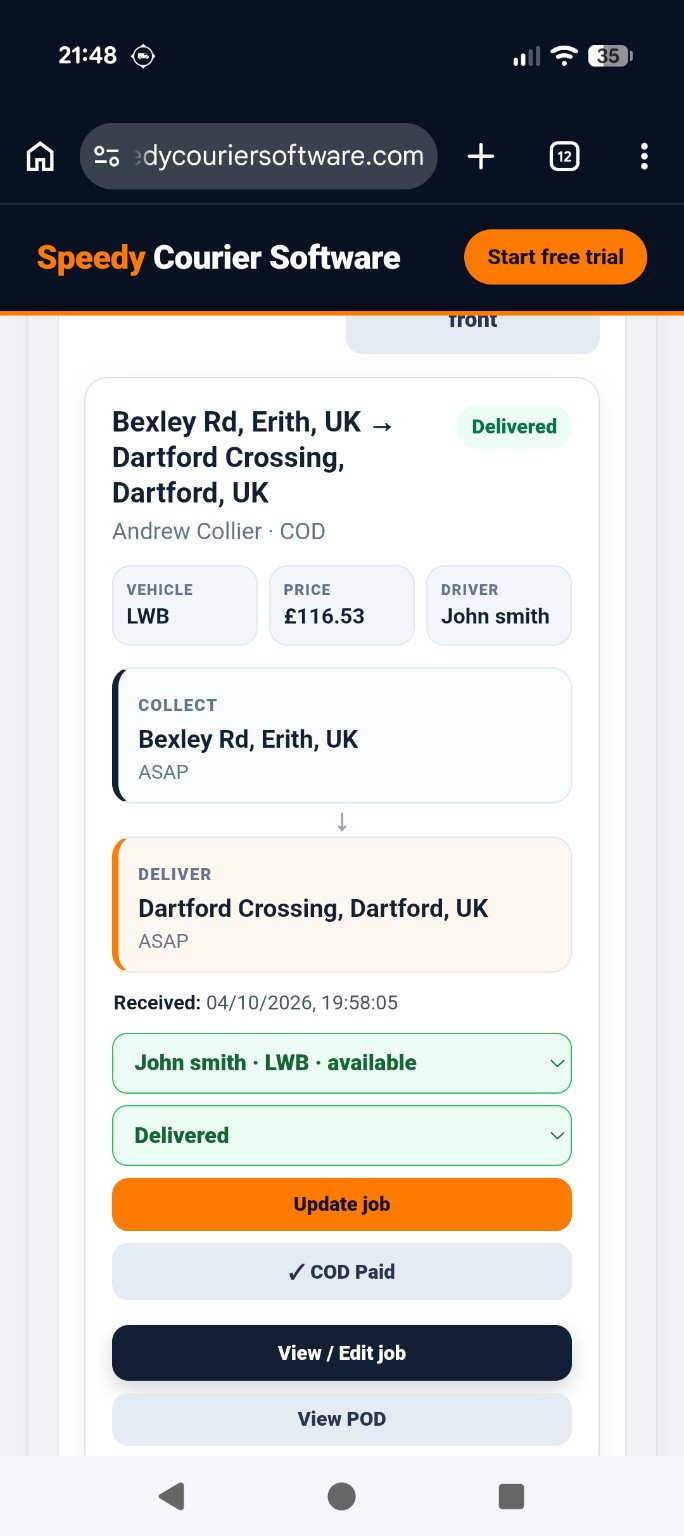
Your delivery workflow is complete
The delivered job remains available in Jobs, with its assigned driver and the View POD control shown where applicable.