Getting Started with Speedy Courier Software
Set up your courier company so you're ready to add customers and drivers, price work correctly and start managing bookings.
Company details → Vehicle pricing → VAT → Payment details → Invoice branding → Stripe → Automated communications → Dashboard
Complete your company details
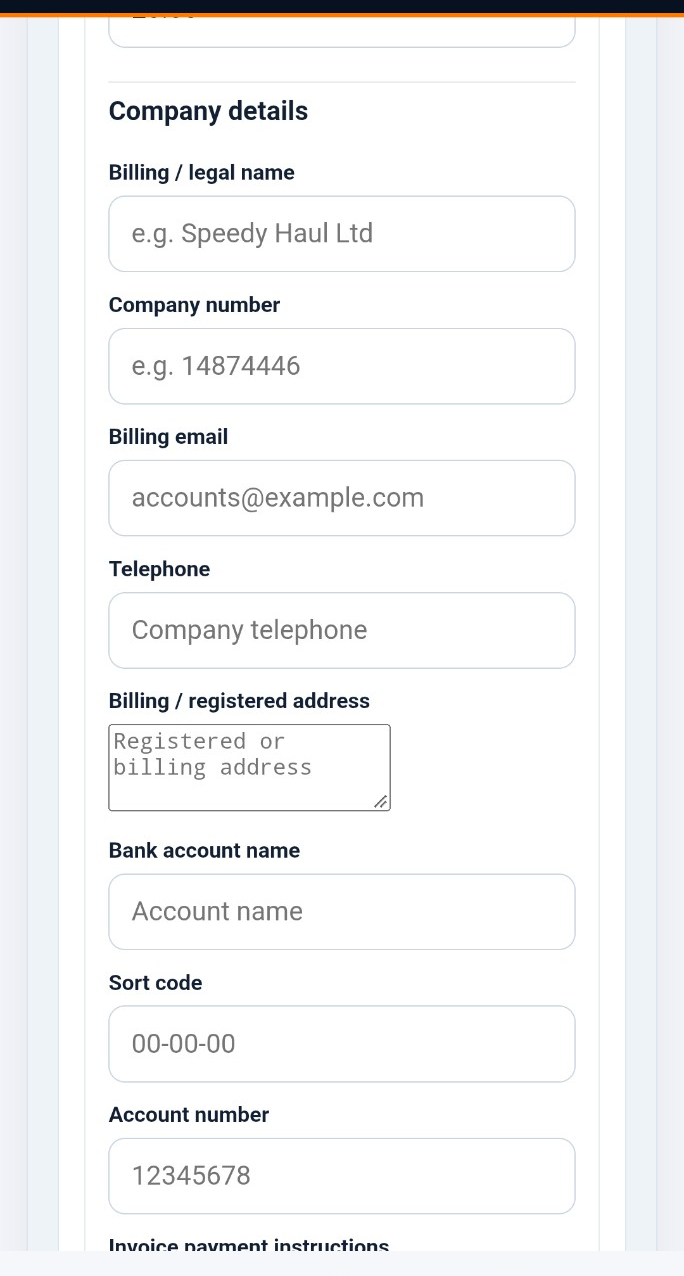
Open Settings and enter the legal and billing information for your courier business. Add your billing/legal name, company number, billing email, telephone and registered or billing address.
You can also add the bank account details and payment instructions that customers need when paying your invoices. Check these carefully before you start invoicing customers.
Set your vehicle types and default pricing
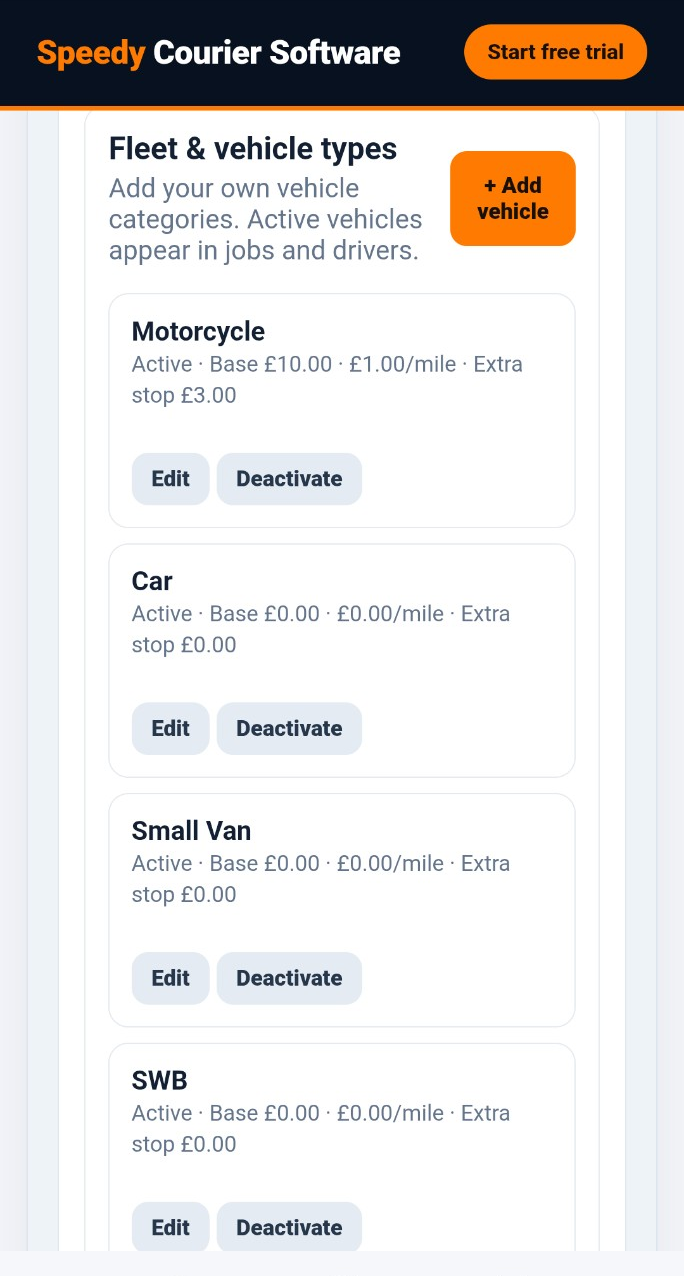
Use Fleet & vehicle types to choose the vehicle categories your company offers. Each active vehicle type can have its own base charge, mileage rate and additional-stop charge.
These are your company default rates. Later, you can give individual trade customers their own negotiated pricing without changing the standard tariff.
Configure VAT
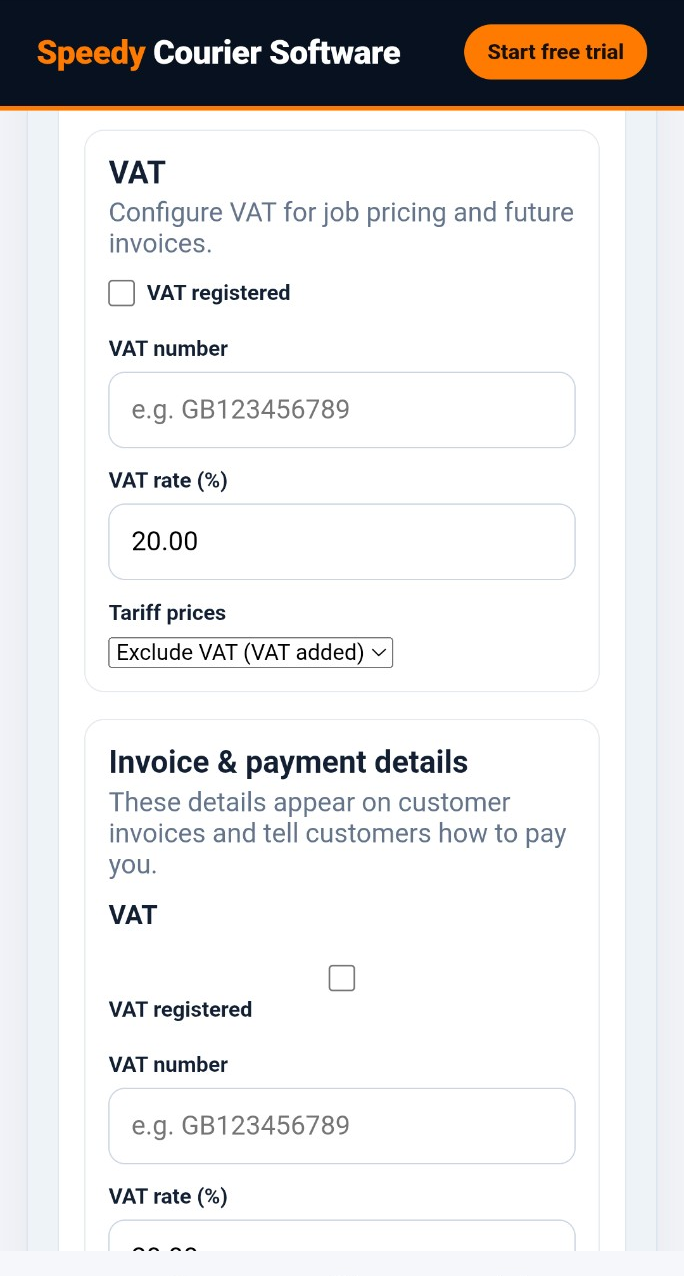
If your business is VAT registered, enable VAT registered, enter your VAT number and confirm the VAT rate. You can also tell Speedy whether your tariff prices include VAT or whether VAT should be added to them.
If your company is not VAT registered, leave the option switched off.
Brand your invoices
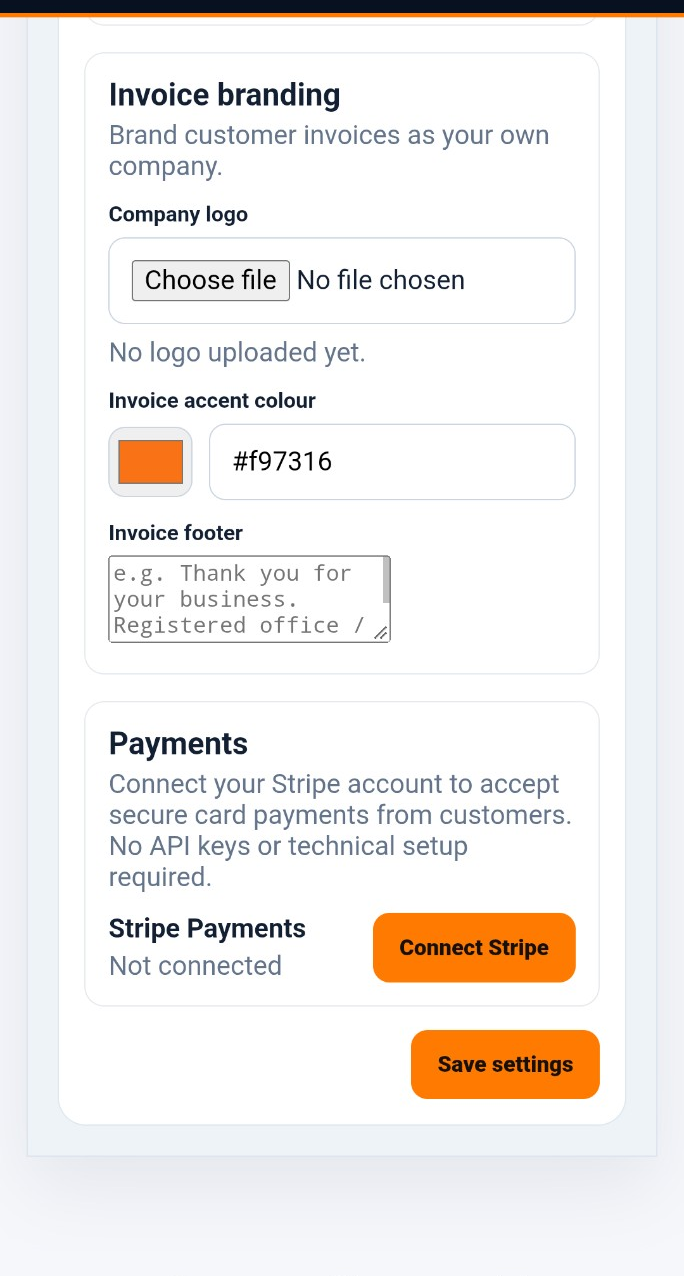
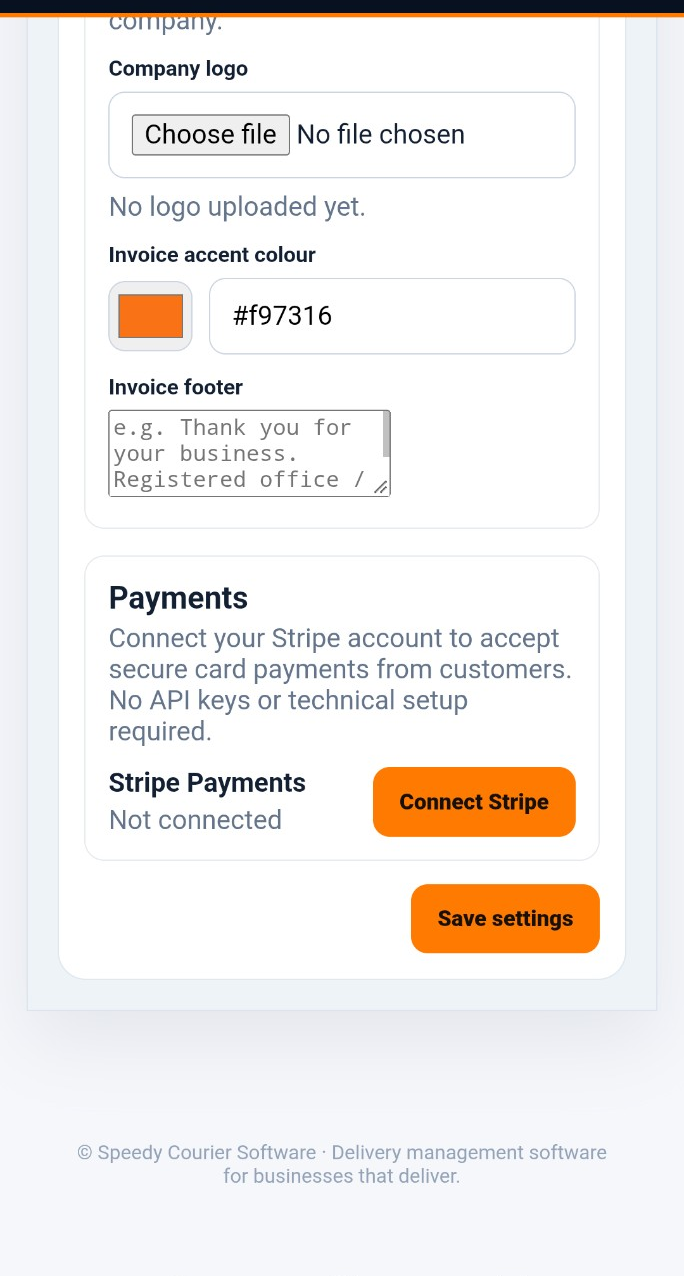
Add your company logo, choose an invoice accent colour and add any footer text you want to appear on customer invoices. This lets invoices generated through Speedy carry your own courier company's identity.
Connect customer card payments
If you want customers to pay invoices by card, use Connect Stripe. Your courier company connects its own Stripe account, so customer payments are taken through your business's payment account rather than a shared Speedy account.
You don't need to enter Stripe API keys into Speedy.
Choose your automated customer communications
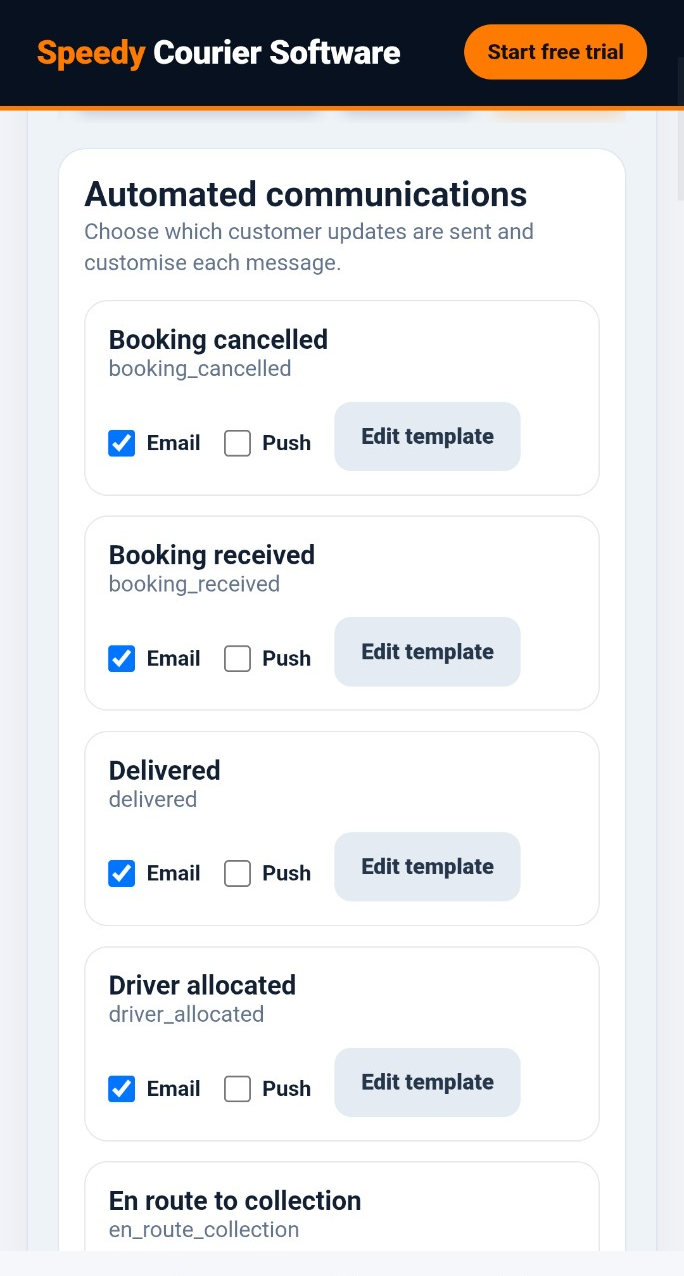
Open Automated communications to choose which customer updates Speedy should send. New company accounts start with standard templates for the key stages of a delivery, including booking received, driver allocated, en route to collection, delivered and booking cancelled.
Use Edit template to adjust the wording for your own business. Email updates can be enabled or disabled individually.
Return to your dashboard
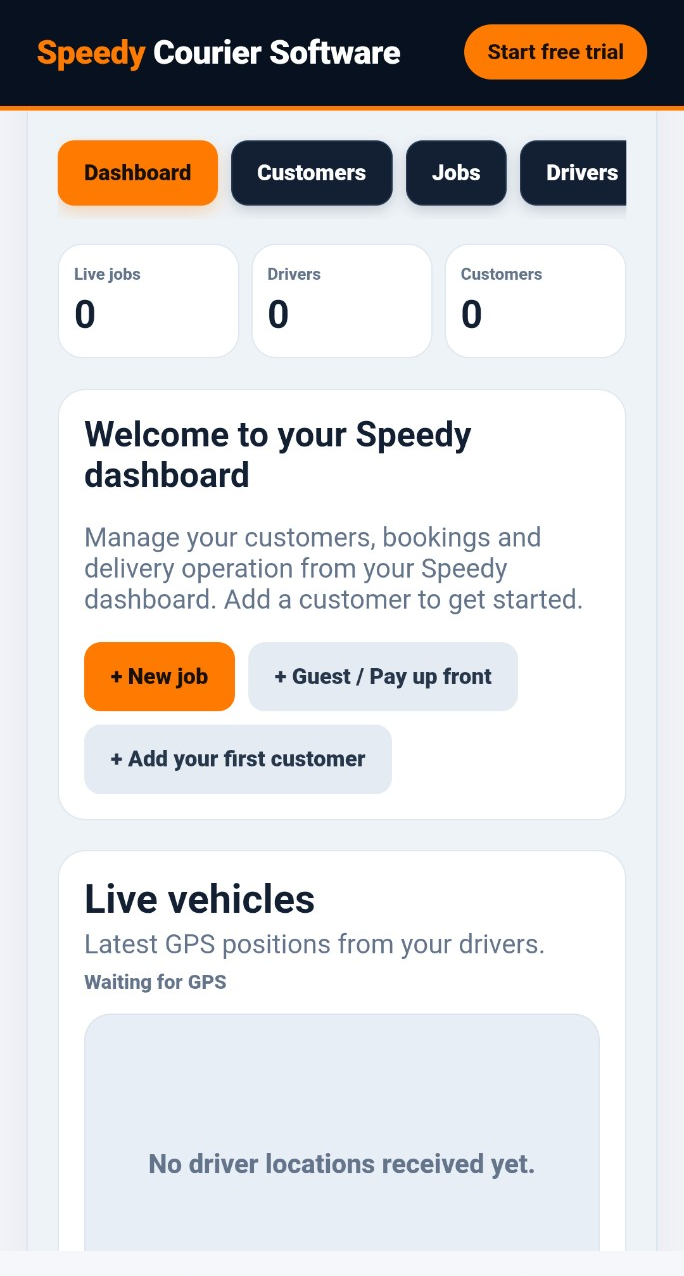
Your basic company setup is complete. The dashboard gives you quick access to jobs, customers, drivers and live vehicle locations. A brand-new account will naturally start with zero jobs, drivers and customers.
You don't need to configure every possible feature before using Speedy. The aim at this stage is simply to establish the information and pricing the system needs to run your operation.
Adding Drivers & Vehicles
Next we'll add your first driver, set their vehicle and pay details, manage driver documents and get them ready to receive work through the Driver App.